Problem: Tracking and organizing your expenses as a small business owner helps you understand your spending, maximize tax deductions, and ensure you’re organized in case of an audit.
However, for many business owners, this can be an incredibly tedious process. You may find yourself combing through your bank feed and credit card statements to find relevant business expenses, and then tracking these in a spreadsheet or a separate bookkeeping software to add categories, notes, and receipts.
Solution: As you spend on your Found debit card, pay contractors, or import expenses from other accounts, we help you categorize those expenses, add receipts, and create rules to automate this work moving forward.
As your income and expenses are categorized, Found updates your tax estimate and business reports in real time, giving you an up-to-date estimate of what you owe and real-time visibility into how your business is performing.
As you spend on your Found debit card, these expenses will automatically show up in your Activity feed.
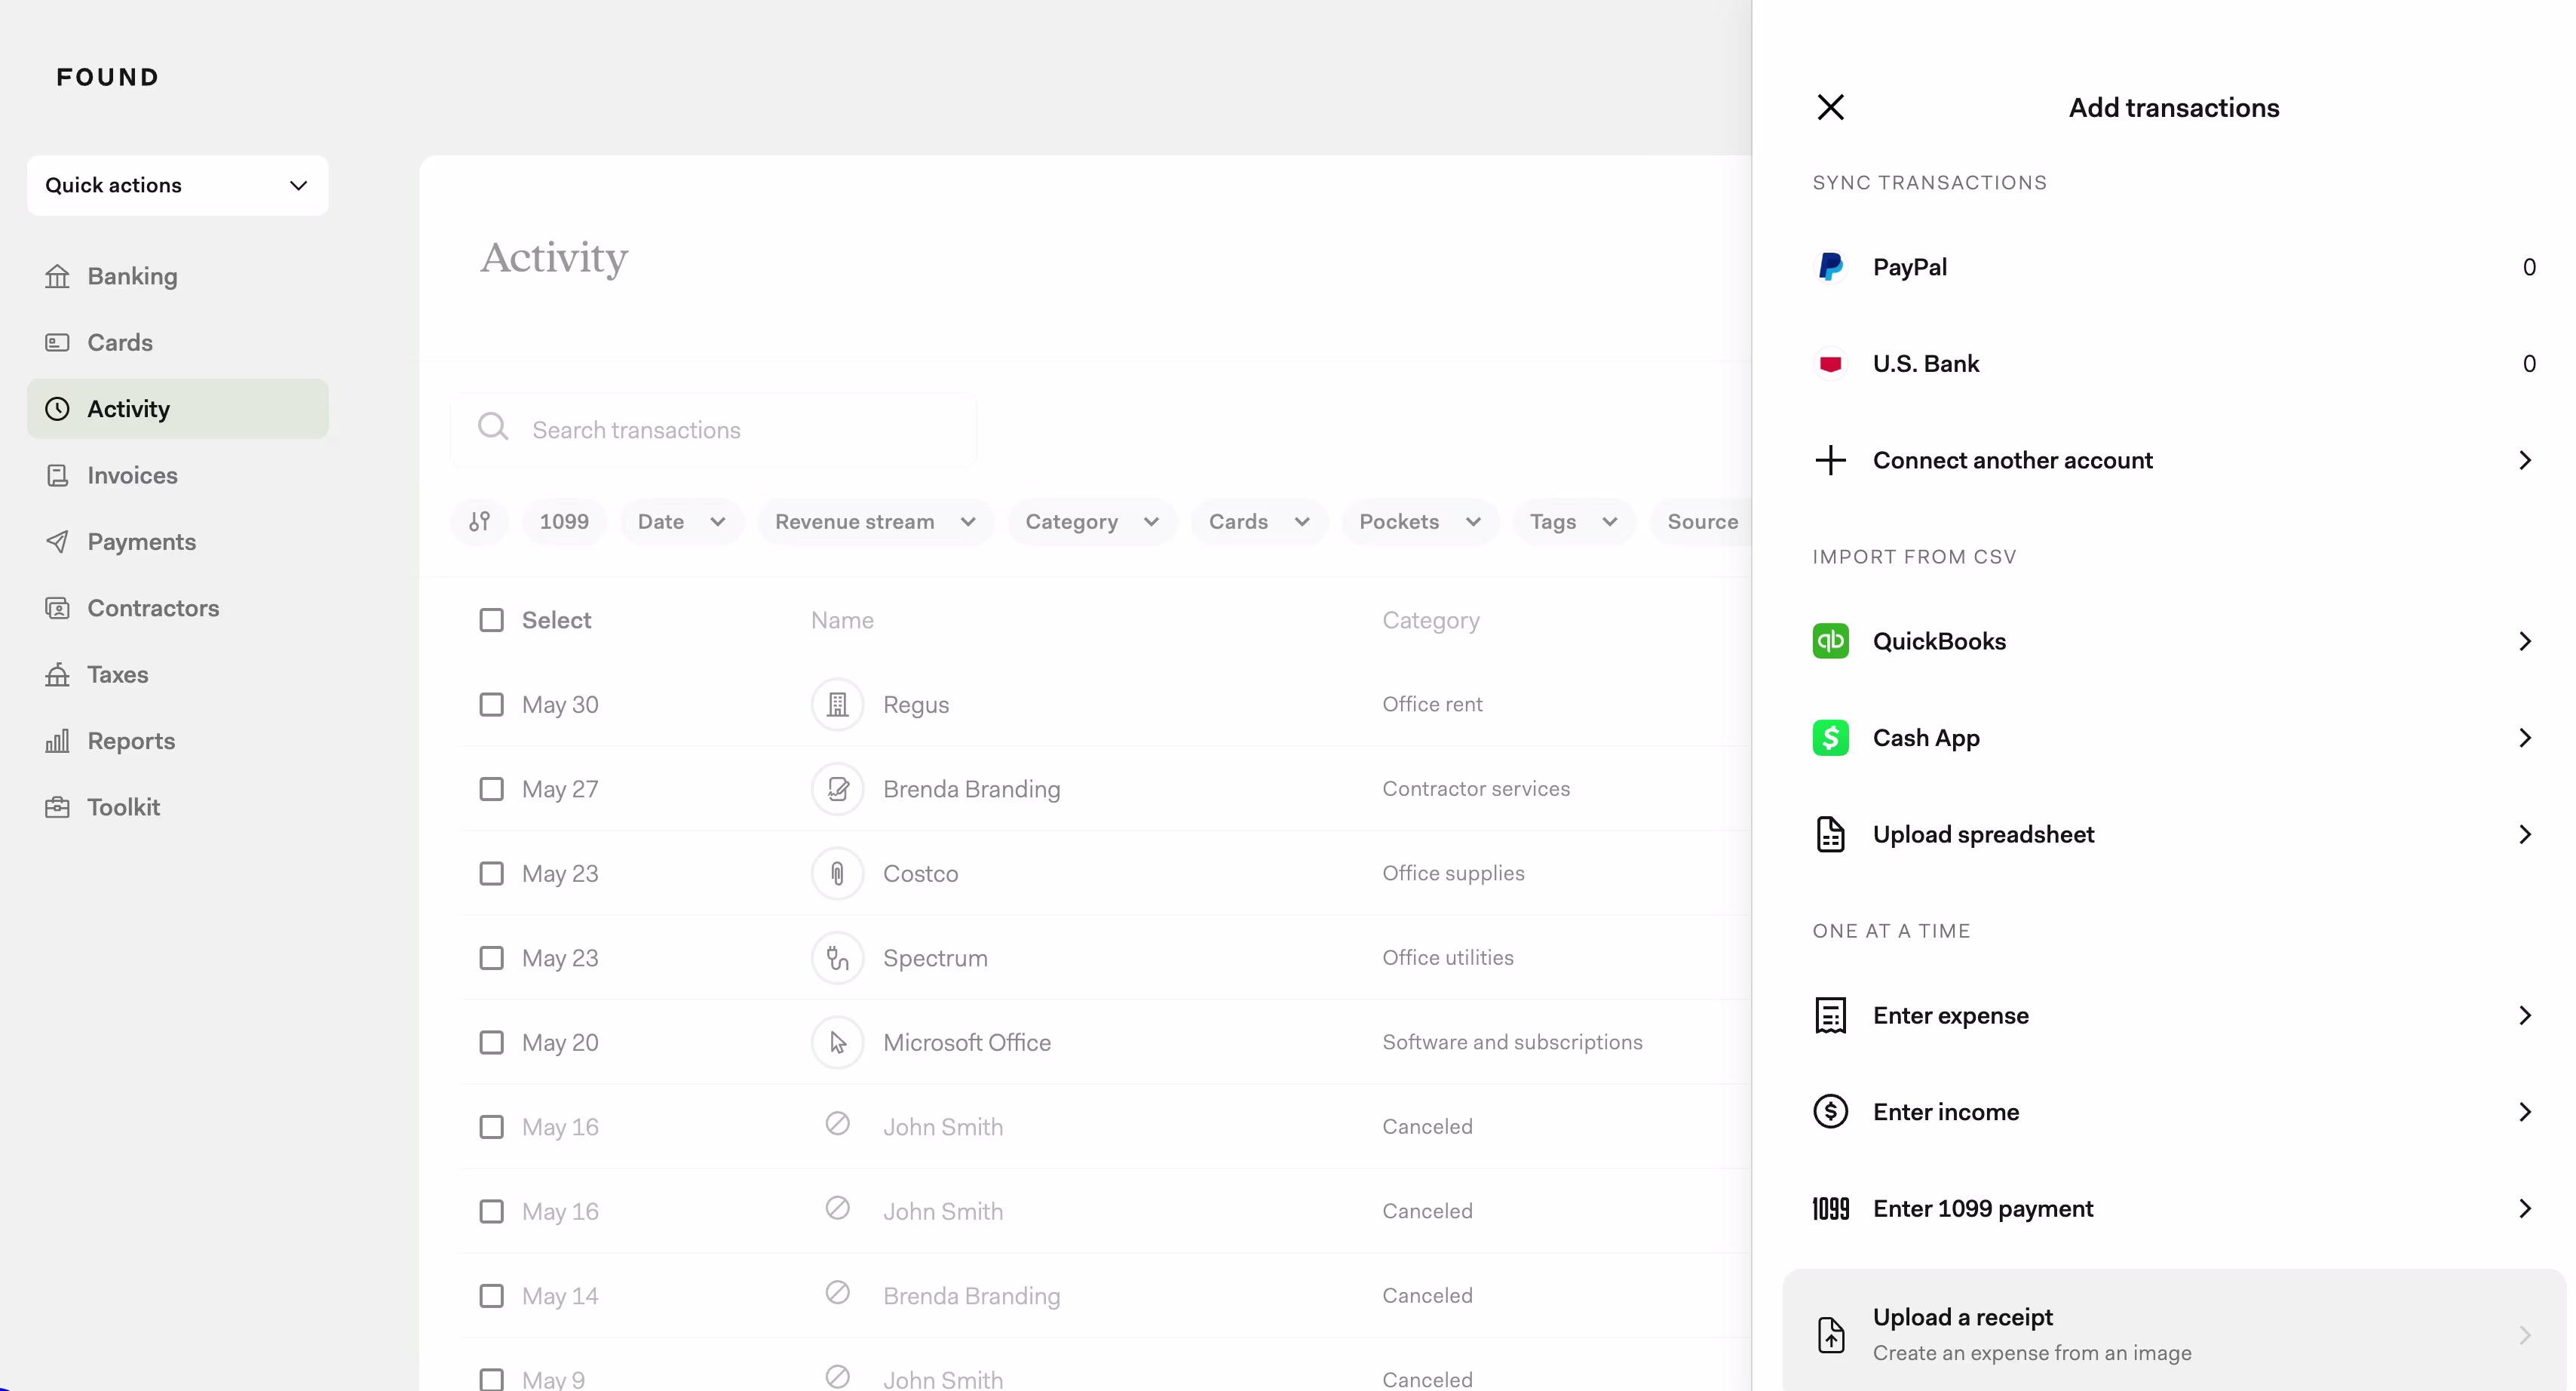
If you’re making expenses elsewhere, you can import those into Found. In the Activity section, select Add income and expense on your computer or + in the mobile app to see other ways to add expenses, including:
Manually entering an expense or income
Uploading a .csv file
Scanning a receipt or uploading a file from your computer
Subscribers to Found Plus and Found Pro* can connect outside banks and credit cards, allowing them to import those transactions into their Found activity feed.
Under Add income or expense, click Connect another account and follow the instructions to import transactions from a linked account.
Tip: If you use a business credit card, you can automatically import all of your business expenses into Found on an ongoing basis. If you have accounts that have a mix of personal and business expenses, you can manually select which expenses to import.
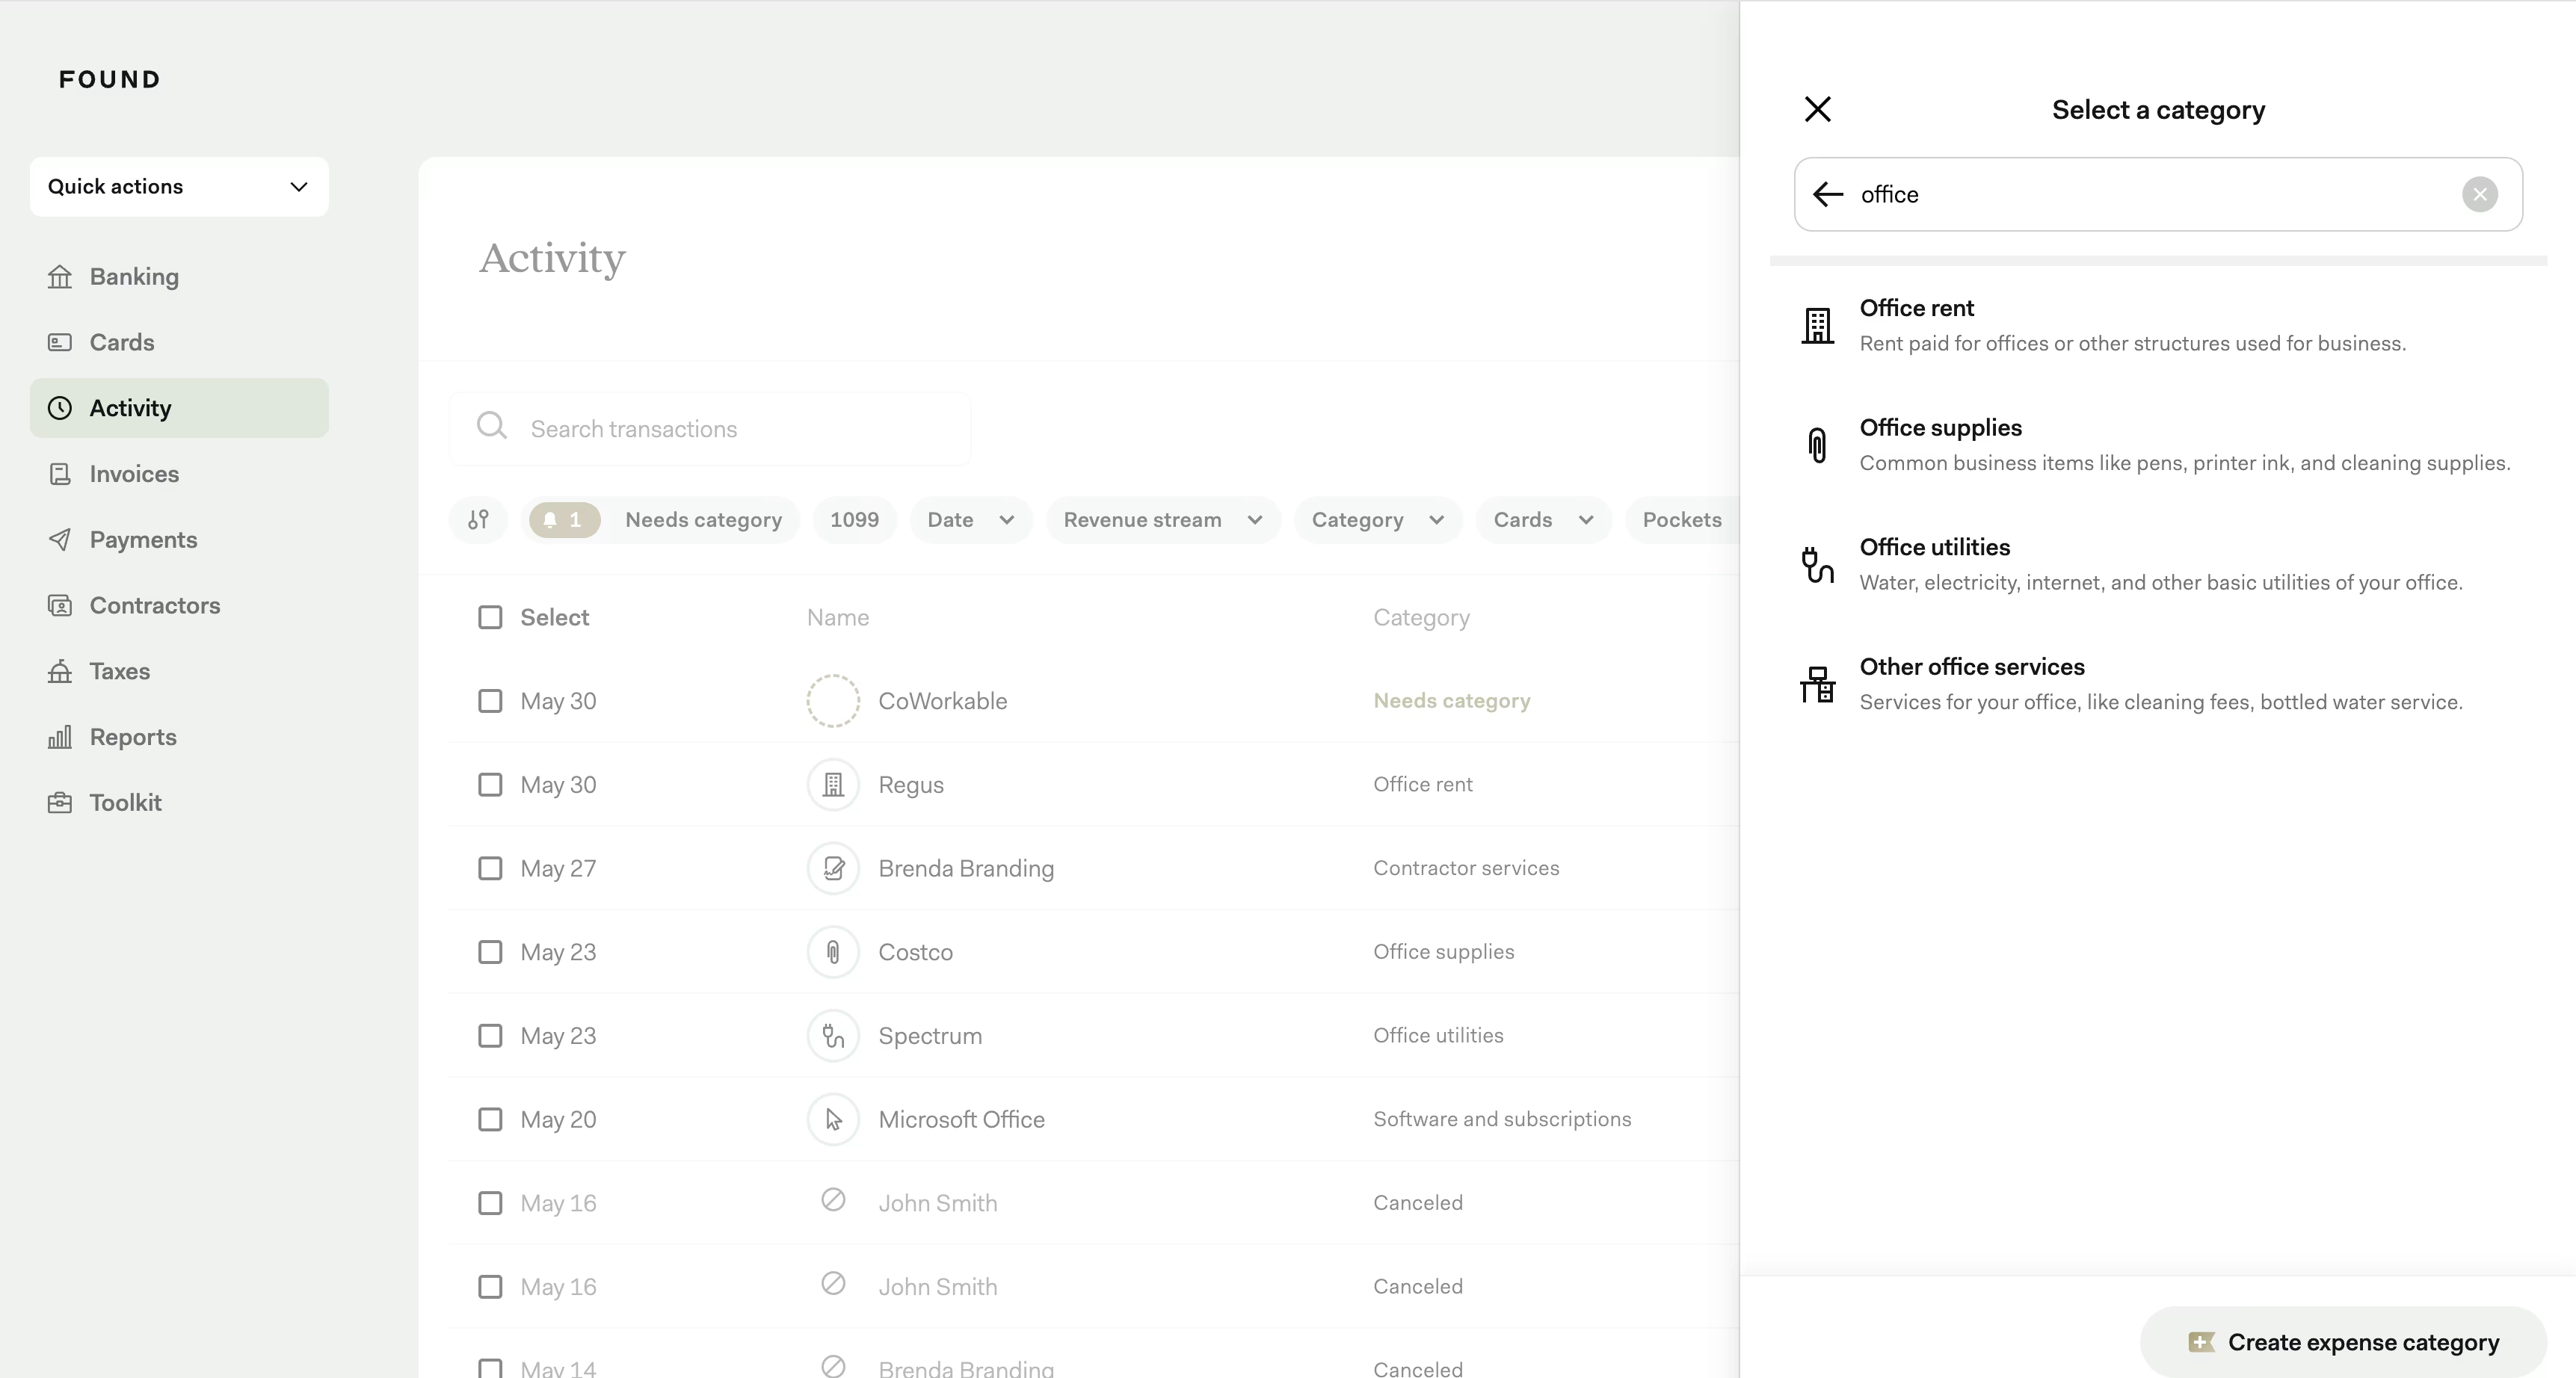
To assign a category to an expense, first click into a transaction on your Activity feed.
Either select one of our recommended categories or click ‘More’ to search our library of transaction categories. Found will also automatically categorize certain transactions based on their merchant category code (which you can edit at any time).
The expense categories in this library directly map to the expense categories on a Schedule C form, making it easy for us to accurately generate your Schedule C during tax time.
Found Plus and Pro subscribers* can create custom categories and map them to Found’s library of transaction categories, giving you more flexibility in tracking while maintaining IRS-ready categorization.
Once you assign or create a category for an expense, Found will calculate the estimated amount you’ve saved on taxes by logging that expense as a deduction.
Tip: Once you assign a category to this expense, you will be asked if you want to make this a rule. A rule will auto-categorize similar transactions in the future and can be a useful way to reduce manual work in keeping your expenses organized. Found customers can create 1 custom expense rule, 1 custom tag, and 1 custom category for free. Unlimited rules, tags, and categories available with Found Plus.³
All Found users are able to create one category rule. Found Plus* gives you the ability to create an unlimited number of custom rules.
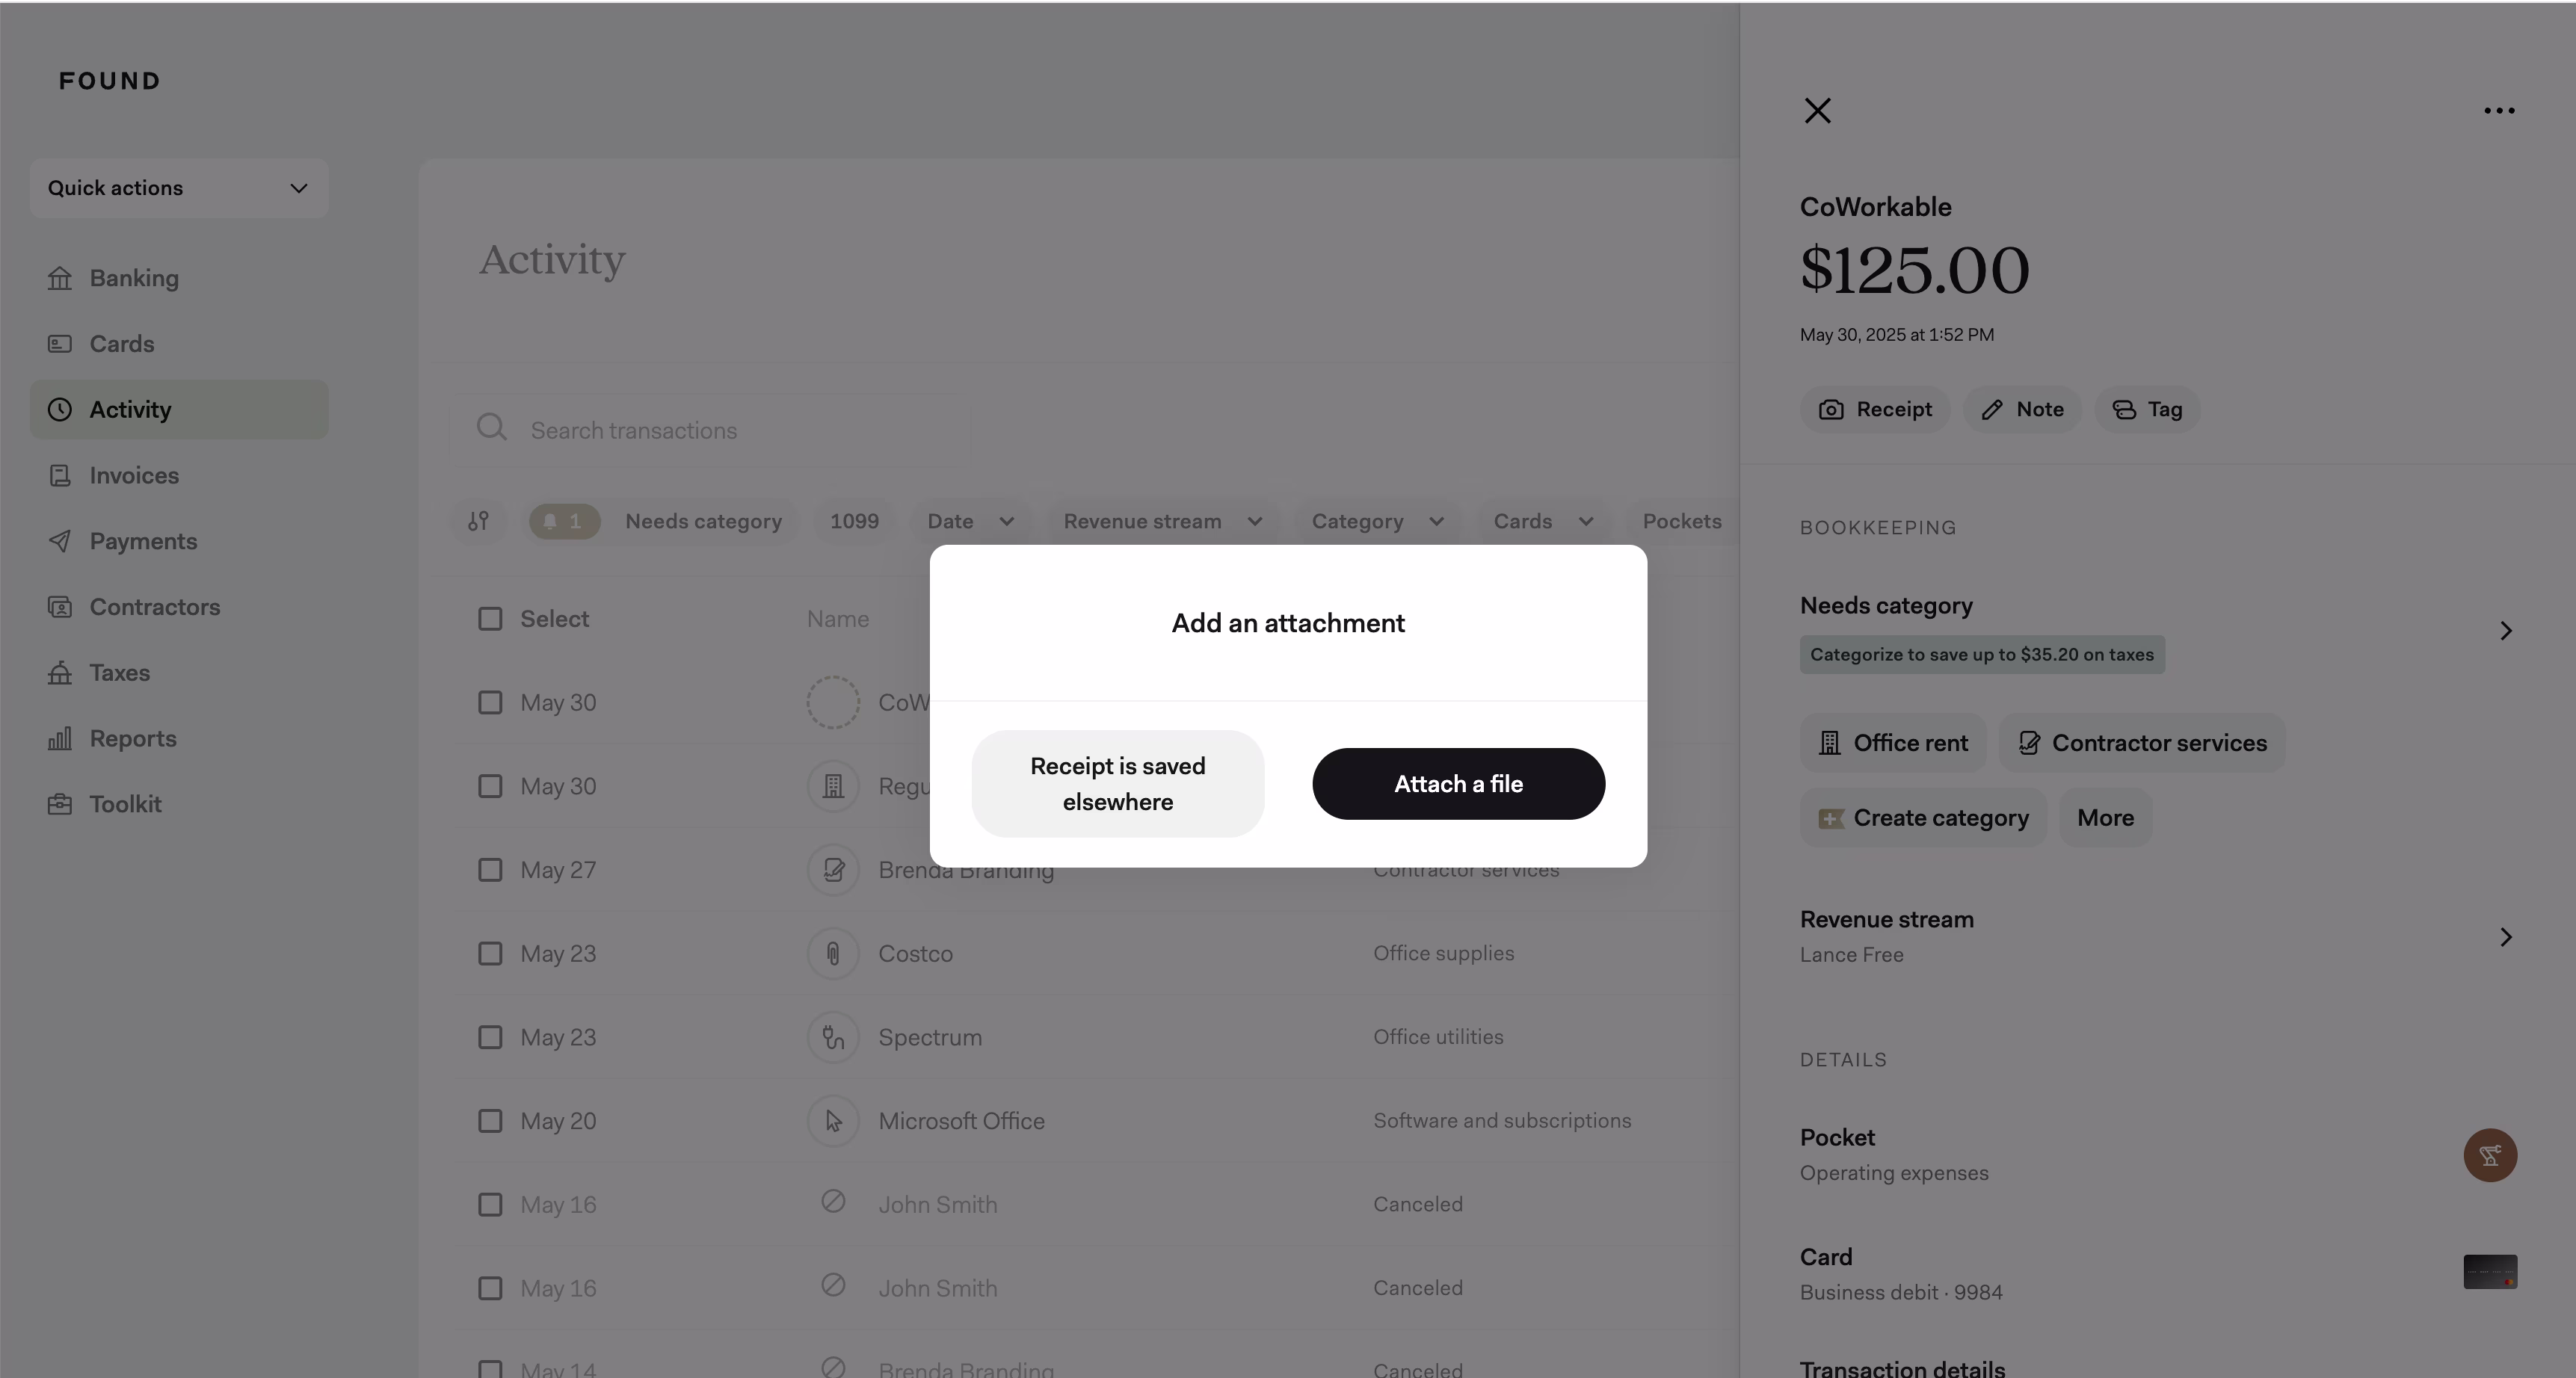
When you click into a transaction, you can also add additional information, such as a note and a receipt.
Notes are handy ways to add additional context for your record keeping, such as who you paid or what supplies you purchased from a vendor.
You can snap a photo of a receipt in the mobile app or attach one to an expense from your computer.
Tip: It is generally recommended to save receipts for any transaction over $75, though it’s a good practice to attach receipts whenever you have them. Please consult a tax professional for questions about and exceptions to this rule.
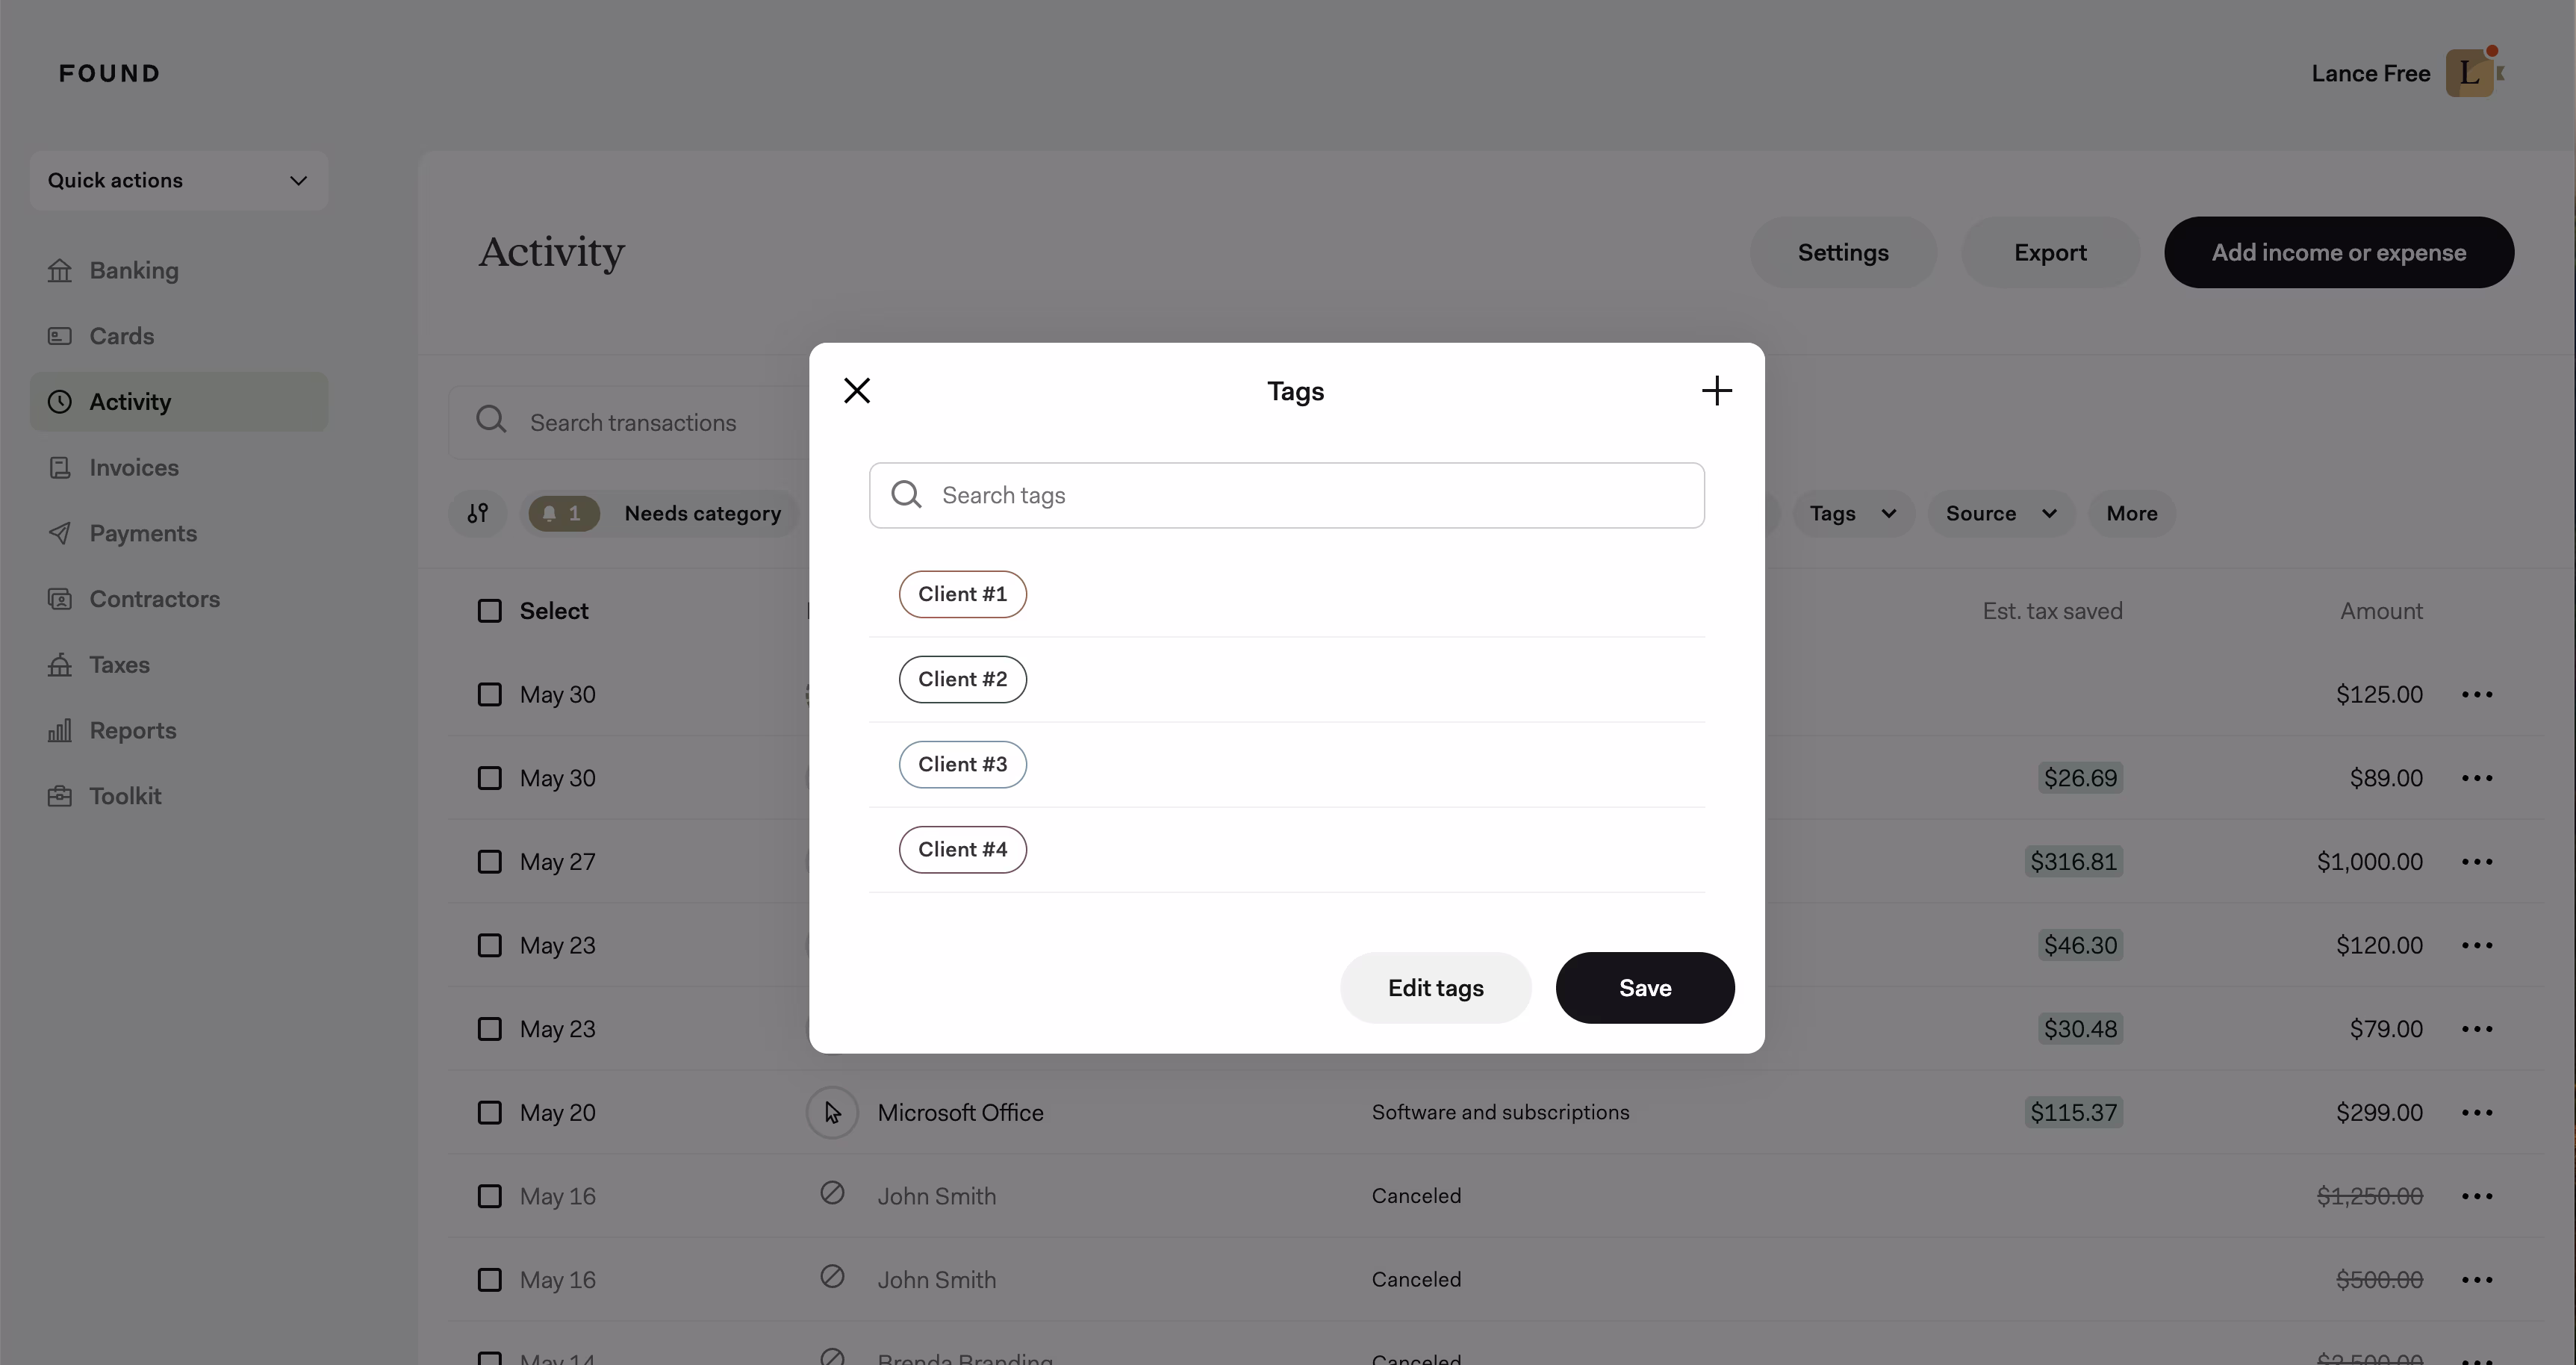
You can also create “tags” to add another layer of organization to your expense management. Small business owners commonly use tags for different clients, projects, or events, but you can create a tag for any dimensions that you’d like to group a subset of expenses around.
For instance, if you have four different clients, you can create a tag for each client and then attach each client tag to relevant income and expense transactions in order to get a sense of your activity on a per client basis.
Similar to categories, you can also create “tag rules” to auto-apply a tag to transactions from certain vendors. All Found users are able to create one custom rule, but a Found Plus or Pro subscription* is required to create additional rules beyond that.
Learn more: How do I add tags to my transactions?
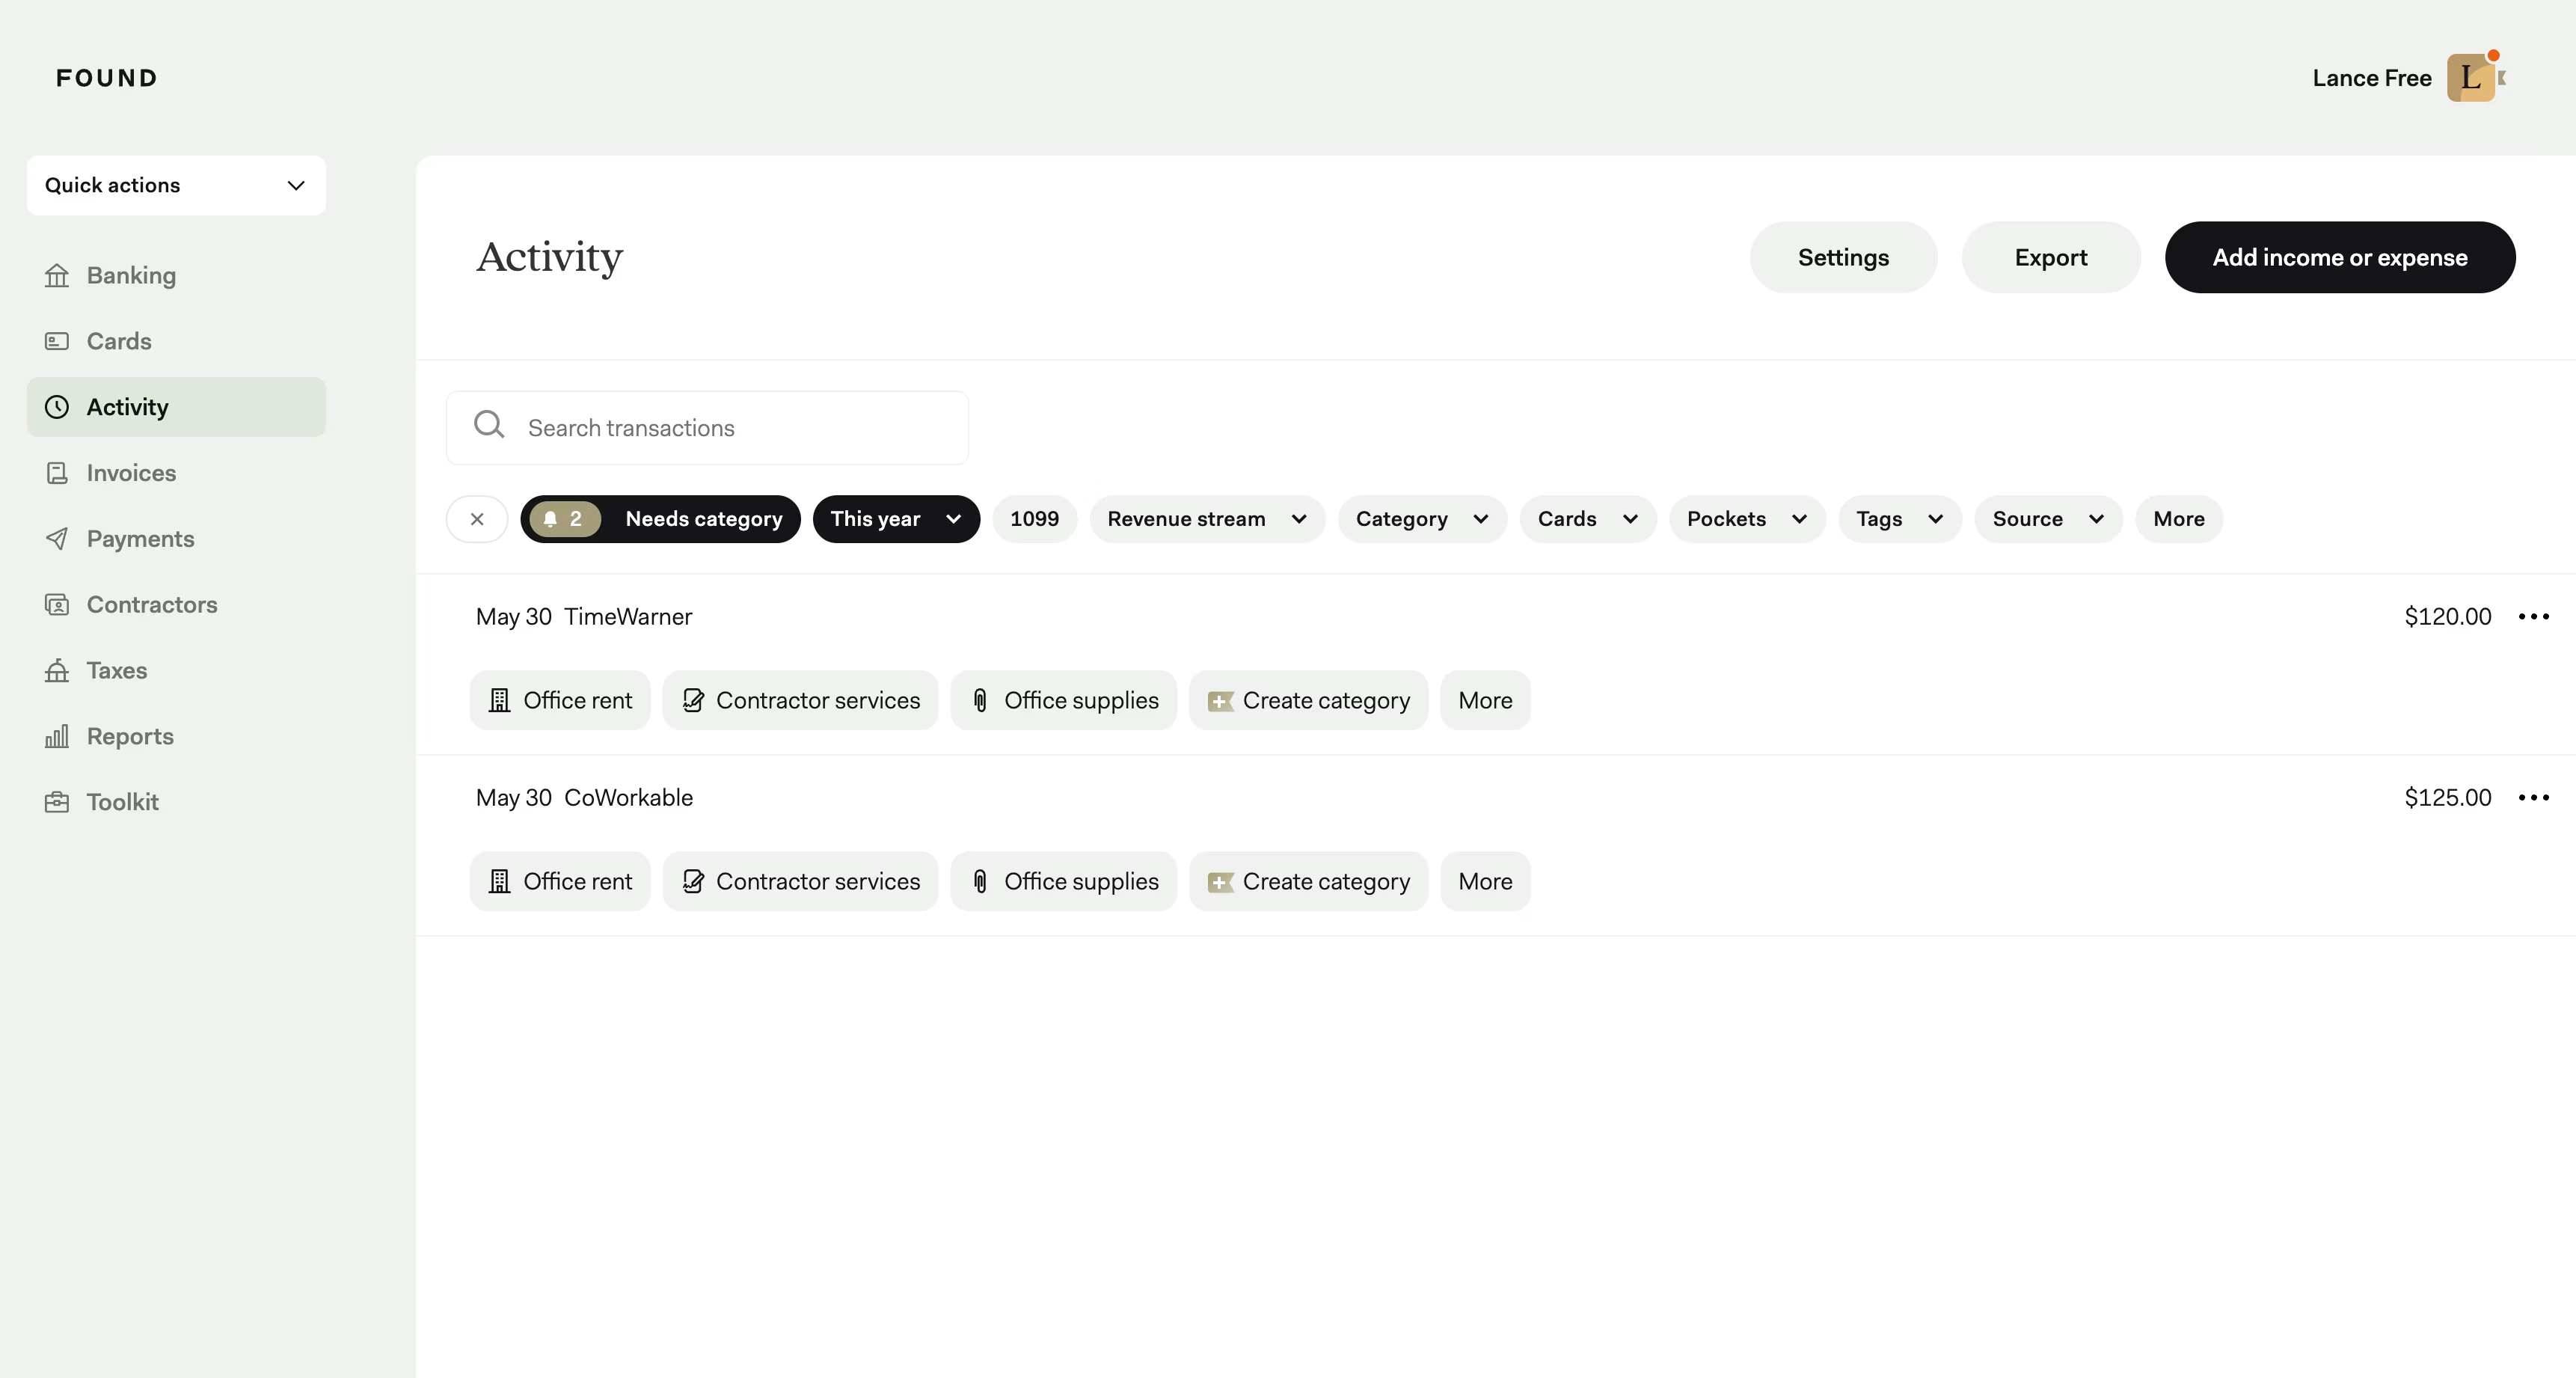
Once you’ve categorized and tagged expenses, you can also filter the Activity feed and Reports by expenses from certain virtual cards, revenue streams, or Pockets, as well as by only those that “Needs category.”
In Activity, select one of the filters from above your feed. In Reports, select the filters above the month-to-month chart within each report.
By connecting other accounts and setting up category and tag rules, you can build a powerful system that keeps your expenses organized while minimizing manual work. This will not only flow through to aggregate reporting in your Reports section, but will also automatically adjust your real-time tax estimate in the Taxes section.
*Found's core features are free. Found also offers two optional paid products, Found Plus for $35/month or $315/year and Found Pro for $80/month or $720/year. There are no monthly account maintenance fees, but other fees such as transactional fees for wires, instant transfers, and ATM apply. Read Found Fee Schedule.
